Touch Screen Designer
The Touch Screen Designer gives the user a visual method of editing the Front End touch screen, or adding a new touch screen. For example, you might need different touch screens for the deli or pharmacy departments, or you might want to add custom buttons or additional department buttons.
- To edit a touch screen profile, begin by highlighting the name of the template and press 'Select'.
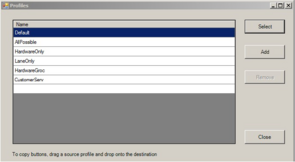
- To add a new touch screen profile, press the Add button.
- Select a profile from the list to use as a copy (starting point) for the new profile. Press the Create button.

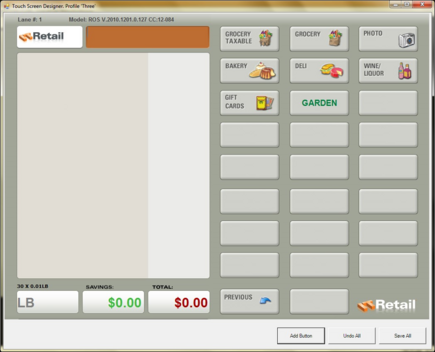
- The Touch Screen Designer opens up as shown below.
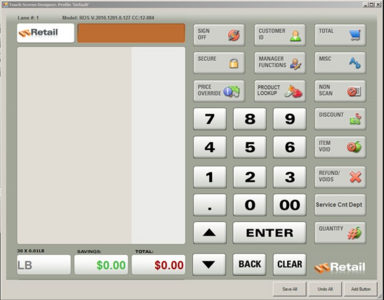
- To Edit a button, press CTL and Click on the button. The button you selected will be displayed in the properties form. If you want to change the position of the button, press CTL, Click and drag it to the new position. To make changes to the Keystrokes, type in the new value. Press Save All.

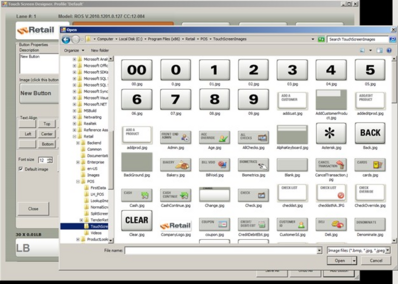
- To change the Image on the button, click on the Image Button. The ‘TouchScreenImages’ folder will open up as shown below. Select the image, and press Open.
- To Add a new button, press ‘Add Button’. Type in the name in the Description field. Align the text in the correct position in the Text Align fields. Type in the Keystrokes for your new button in the Keystrokes field. To add the Enter function, flag '<Enter> key will follow the keystroke'. Select the Font Color and Font Size.
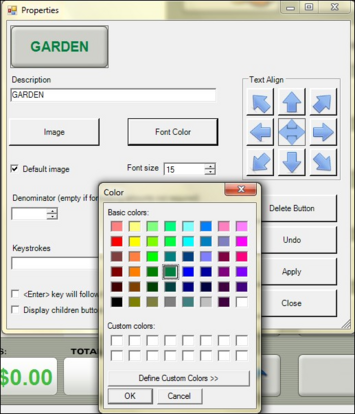
- You can make the sub menus display in 3 columns, instead of just 1 column on the right. For example, you might want all of your departments to be displayed on one page for open department rings. To do that, select the Display children buttons in 3 columns field. In the example below, the Non-Scan button is being edited to display the children buttons in 3 columns.
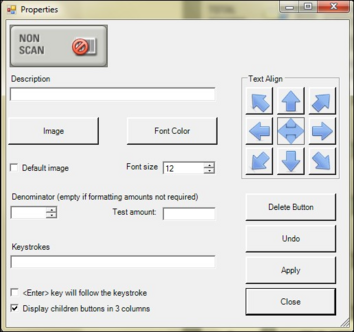
- Press Apply and Close. When you click on the Non-Scan button, the departments will be displayed in 3 columns. The total buttons and number pad will not be displayed, as shown below.
- To apply the new touch screen to a lane, open System Information. Highlight the lane that will use the new touch screen and select the name of the profile. Save and synchronize the check stand with the change.
